 Arugula and Fava Bean Crostini
It’s springtime and so comes an abundance of fava beans! These tasty, green gems are great tossed in salads, risotto, or even a simple pureed soup. Another great way to use these protein packed beans is in a pesto. Add the pesto to some crusty toast and you have an easy, savory snack to satisfy a crowd.
Arugula and Fava Bean Crostini
(Recipe from Gourmet by Kay Chun)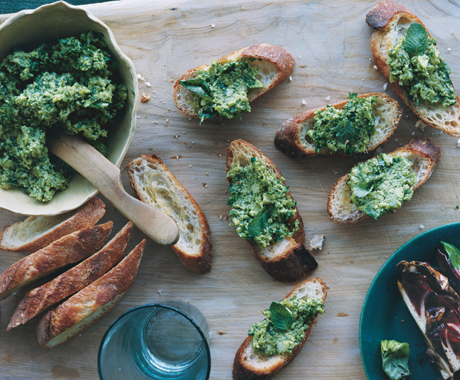
Makes 8 servings
Ingredients
- 1 cup shelled fresh fava beans (1 1/4 pounds in pods)
- 1/4 cup plus 1 tablespoon extra-virgin olive oil, divided, plus additional for drizzling
- 1 1/2 cups packed baby arugula (1 1/2 ounces), divided*
- 3 tablespoons grated Pecorino cheese or Parmigiano-Reggiano
- 1/4 teaspoon of grated lemon zest
- 1/2 teaspoon fresh lemon juice
- 1 baguette
- 1 garlic clove, peeled
- 16 mint leaves
*Substitute spinach for a milder version
Preparation
1. Preheat oven to 350°F with rack in middle.
2. Cook fava beans in boiling water, uncovered, until tender, 3 to 4 minutes, then drain and transfer to an ice bath to stop cooking. Gently peel off skins. (Recruit your children. It’s a great way for them to help with the recipe.)
3. Pulse fava beans in a food processor until very coarsely chopped, then transfer half of mixture to a large bowl. Add 1/4 cup oil, 1/2 cup arugula, cheese, lemon zest and juice, 1/2 teaspoon salt, and 1/8 teaspoon pepper to favas in processor and purée until smooth. Add to bowl. Coarsely chop remaining cup arugula and gently fold into fava-bean mixture.
4. Cut 16 diagonal slices (1/3 inch thick) from baguette and put in a 4-sided sheet pan. Drizzle with remaining tablespoon oil. Bake until pale golden and crisp, 8 to 10 minutes. Rub with garlic.
5. Spoon fava-bean mixture onto baguette toasts, then drizzle with oil and top with mint.
6. ENJOY!
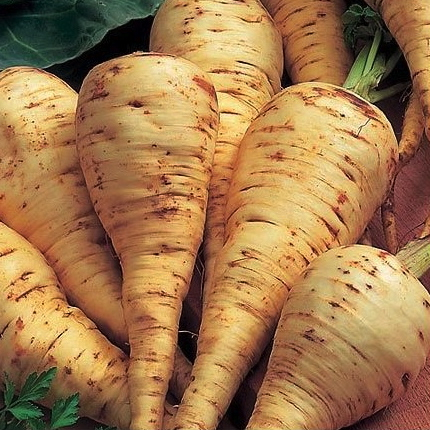
Cumin Roasted Parsnips and Carrots
(credit chef Mary Sue Milliken)
The sweetness of carrots and parsnips is balanced and enhanced by cumin, garlic, lime juice and mint to make a delicious, warming, hearty, and simple side.
SERVES 4–6
Ingredients
- 1 lb. carrots, cut into ¼”-thick rounds on the diagonal
- 1 lb. parsnips, cut into ¼”-thick rounds on the diagonal
- ½ cup olive oil
- 3 tbsp. honey
- 2 tbsp. toasted cumin seeds
- 3 cloves garlic, thinly sliced
- Kosher salt and freshly ground black pepper, to taste
- 2 tbsp. fresh lime juice
- 2 tbsp. finely chopped mint leaves
Instructions
 Recipe of the Month: Romanesco Holiday Trees with Mashed Potatoes and Cheese
As the year comes to a close, and the Holiday season reaches a fever pitch, I can’t help but let it influence me a little bit. Brainstorming recipe ideas on the farm, I asked my colleague, Laura, what we had an abundance of in the cooler. She told me that we are loaded with romanesco right now and then proceeded to tell me that she thought the florets look like Christmas trees. That got us going on a conversation that involved mashed potato snow banks, rosemary bushes and parmesan snow and I decided it would be a great kids recipe for the holidays!
Now if you don’t celebrate Christmas, you might be feeling a little left out right now, but the history of the Christmas tree actually comes from a pagan tradition centered around the winter solstice.
** “Long before the advent of Christianity, plants and trees that remained green all year had a special meaning for people in the winter. Just as people today decorate their homes during the festive season with pine, spruce, and fir trees, ancient peoples hung evergreen boughs over their doors and windows. In many countries it was believed that evergreens would keep away witches, ghosts, evil spirits, and illness.
In the Northern hemisphere, the shortest day and longest night of the year falls on December 21 or December 22 and is called the winter solstice. Many ancient people believed that the sun was a god and that winter came every year because the sun god had become sick and weak. They celebrated the solstice because it meant that at last the sun god would begin to get well. Evergreen boughs reminded them of all the green plants that would grow again when the sun god was strong and summer would return.
Germany is credited with starting the Christmas tree tradition as we now know it in the 16th century when devout Christians brought decorated trees into their homes. Some built Christmas pyramids of wood and decorated them with evergreens and candles if wood was scarce. It is a widely held belief that Martin Luther, the 16th-century Protestant reformer, first added lighted candles to a tree. Walking toward his home one winter evening, composing a sermon, he was awed by the brilliance of stars twinkling amidst evergreens. To recapture the scene for his family, he erected a tree in the main room and wired its branches with lighted candles.”
If you have some picky eaters, this recipe is for you!

Romanesco Christmas Trees with Mashed Potatoes and Cheese
Serves: 4 (as a side)
2 large Russet Potatoes (peeled and boiled)
4 tablespoons butter
1 sprig of rosemary (finely chopped)
2 cloves of garlic (pressed)
1/2-1 cup cream (depending on how creamy you like your mashed potatoes)
salt and pepper to taste
1 large head of romanesco (separated into individual florets and steamed)
8 tablespoons of parmesan cheese (grated or shredded)
8 slices of cooked bacon (crumbled)
Instructions:
1. Peel and chop potatoes, toss in boiling water and cook until soft.
2. Remove from heat and drain.
3. KIDS! Add butter, rosemary, garlic, and cream and mash potatoes until you reach preferred consistency.
4. Add salt and pepper to taste.
5. KIDS! Wash and pull apart romanesco head until you have a bunch of small “Christmas trees”.
6. Steam trees until soft, strain, set aside to cool.
7. Once the romanesco is cool (not cold, just cool enough to handle), evenly spread mashed potatoes in to four separate bowls, ramekins, or one large dish.
8. KIDS! Place romanesco in mashed potatoes to look like little Christmas trees.
9. KIDS! Sprinkle tops of romanesco with parmesan and bacon bits.
Enjoy!
**http://www.history.com/topics/history-of-christmas-trees
 Family Friendly Recipe: Delicata Squash and Cauliflower Curry
I created this recipe last week when I woke up for the first time this season and didn’t want to get out of bed because it was too cold! The first cold snap of the season makes me a little nostalgic for summer, but also makes me excited for the seasons to change.
Curry always warms me up AND cheers me up when I’m feeling a little blue.
My favorite creations usually come from the necessity to use things in my fridge. I like to call these “stone soup” recipes. Right now we have an abundance of squash and cauliflower on the farm (along with plenty of other goodies) so I decided to create something warm and fragrant and cozy for dinner. I used a delicata squash because I had one that needed to be eaten, but you could use whatever type of squash your heart desires!
While I was prepping my curry, my roommate and a couple of her couple friends came home and I got to feed them as well which is one of my favorite things to do!
Needless to say, this curry warmed my body and my soul just like I expected!
Jessica also mentioned a delicious looking recipe in her blog post. If you would like the recipe, click here: http://www.babble.com/best-rec

Photo by: Lady Locavore Blog
Serves 4
Ingredients:
- 1/2 yellow onion
- 2 cloves garlic
- 2 tblsp olive oil
- 1/2 quart chicken or veggie broth
- 1 delicata squash, cubed (cut in half, slightly steamed and scooped from its skin)
- 2 medium potatoes, cubed
- 1 large carrot (cut in half and chopped)
- 1/2 large head of cauliflower
- 2 cups chard (washed, roughly chopped)
- 1 can coconut milk
- red pepper flakes
- curry powder
- tumeric
- paprika
- salt and pepper to taste
- 2 cups of uncooked brown rice
- 4 cups water
Directions:
- Bring water to a boil, add rice and reduce to a simmer, cover and monitor as you cook the rest of your meal
- Chop yellow onion
- KIDS! Crush garlic
- Saute onions and garlic in large pot/pan
- KIDS! Add broth and bring to a simmer
- KIDS! Scoop out squash
- Cube squash and potatoes and add to pot
- Cut up carrot and cauliflower and add to pot
- KIDS! Wash chard and tear into bite sized pieces and add to pot
- KIDS! Add coconut milk and spices
- Cook until squash and potatoes are soft
- Serve over brown rice
- Enjoy!
 Family Friendly Recipe: Curried Butternut Squash, Carrot and Tomato Soup
I have a sinus infection that won’t go away. I have tried every natural cure I can think of: netti pot, tea, sleep, ginger, wellness pills, hydration–you name it!
This weekend I was feeling particularly miserable, and was scrolling through a few of my favorite cooking blogs looking for an inspiring dinner recipe. Being fall, everyone is incorporating squash into their recipes. I read a couple of uninspiring butternut squash soup recipes, and then came across an interesting one on my favorite blog, Eat Live Run.
The recipe called for butternut squash and lentils, and since lentils are not my favorite thing to cook with, I decided to create a hybrid recipe between the butternut squash soup recipe, and Jenna’s carrot and ginger soup recipe. They both looked so inviting, and an added bonus was that I got every veggie I needed to make this recipe from the farm!
It was amazing! It was surprisingly sweet and spicy (probably from the tomatoes and ginger) and it was one of the only things that made my sinuses feel better!
This recipe is easy, delicious, and if your family is starting to sniffle, it might just be the cure!
 Curried Butternut Squash, Carrot and Tomato Soup
serves 4
- 1 butternut squash (about 3 lbs), peeled and cubed
- 1 cup carrots (chopped)
- 1 quart chicken or vegetable stock
- 1 medium sized yellow onion, chopped
- 1 15-oz can diced tomatoes (I used 5 fresh tomatoes)
- 1 T fresh ginger, minced
- 2 cloves garlic, minced
- 2 tsp curry powder
- 1 tsp salt
- 1 T extra virgin olive oil
- 1/4 tsp cayenne (or to taste)
- cilantro to garnish
- Heat the olive oil in a large sauce pot over medium high heat. Once hot, add the onion and saute for about five minutes, until the onion is soft and translucent.
- Add the ginger and garlic and continue to cook for three more minutes, stirring often. Add the squash.
- Add the can of diced tomatoes, red lentils, chicken stock, salt, cayenne and curry powder. Bring to a boil. Reduce heat and simmer for twenty minutes, until lentil and squash are tender and cooked through.
- Carefully transfer hot soup to a blender and
- KIDS! Push the button! Process until smooth. Season with more salt if needed. Top bowls with fresh chopped cilantro right before serving.
There were many delicious dishes served at this year’s Discovery Program fall fundraiser, but one of the crowd pleasers was this delightful apple crisp made by our Food What?! youth group. There are so many types of apples on the farm this fall, just take your pick and make this crisp!
Apple Crisp
From the book Betty Crocker Cookbook by Betty Crocker Editors
Ingredients
Crisp
| 4 | medium tart cooking apples, sliced (4 cups) | |
| ¾ | cup packed brown sugar | |
| ½ | cup all-purpose flour (see Note) | |
| ½ | cup quick-cooking or old-fashioned oats | |
| ⅓ | cup butter, softened | |
| ¾ | tsp. ground cinnamon | |
| ¾ | tsp. ground nutmeg |
Garnish
| ~ | Whipped cream or vanilla ice cream |
Steps
- Preheat the oven to 375 degrees. Grease the bottom and sides of an 8-by-8-inch square baking pan.
- Spread the sliced apples in the pan. Mix the remaining crisp ingredients together and sprinkle the mixture evenly over the apples.
- Bake the crisp for about 30 minutes or until the topping is golden brown and the apples are tender when pierced with a fork.
- Serve warm with whipped cream or ice cream.
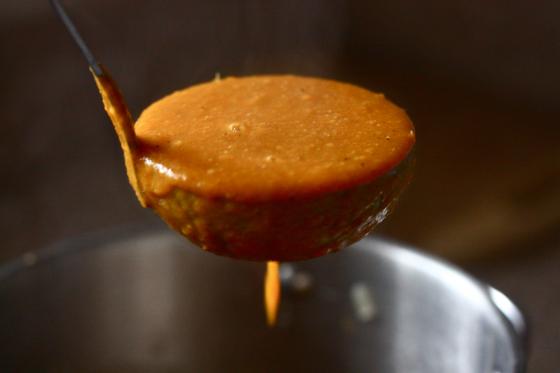
 Family Friendly Recipes: Chunky Tomato Sauce
We had a great group come to the farm this week. A summer camp from Gateway School in Santa Cruz decided to spend two of their camp days with us at the farm. The first day we took a tour and milked the goat, worked in the garden and harvested some fruits and veggies.
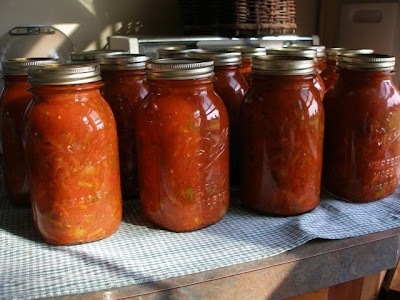
The second day we spent in the kitchen. We made: pizza dough, goat cheese, peach tartlets and we canned chunky tomato sauce which we used on our pizza for lunch! The tomato sauce was an experiment for me. During the four sessions of camp, we canned quite a few times. We made pickles and pickled carrots, strawberry-rhubarb jam and blackberry jam, but this was the first time canning tomatoes for me.
I was hesitant at first to try canning tomatoes because many recipes call for peeled tomatoes, which seemed like a hassle. But after reading the pros and cons of peeled tomatoes, I decided to suck it up and peel them. It wasn’t that hard and it was actually pretty fun! Your kids will love ripping the skin off the tomatoes!
How to Peel Tomatoes
- Cut a small “x” just through the thin skin on the bottom of each tomato.
- Dip the tomatoes in a pot of boiling water for 30 seconds or put them in a large bowl, pour boiling water over them, and let them sit for 30 seconds to 1 minute.
- Lift or drain the tomatoes out of the hot water and quickly dunk them into ice water to stop them from cooking or softening too much.
- KIDS! Gently pull off the skin and discard!
The recipe we used was simple and fun and made JUST enough for 12 pints of sauce. If you’re using small tomatoes, I might recommend throwing a few more in!
Chunky Tomato Sauce
Ingredients:
- 5 onion, chopped
- 10 cloves garlic, minced
- 10 carrots, shredded
- 3 green pepper, chopped
- 4 bay leaves
- 1 cup fresh parsley (ripped)
- 10 tbsp. fresh basil, ripped (or 2 tsp. dried)
- 10 tbsp. fresh oregano (or 1 tsp. dried)
- 10 tbsp. fresh thyme (or 1 tsp. dried)
- 30 cups tomatoes (peeled and chopped-look below recipe for simple peeling instructions)
- 4 cups tomato paste
- 1 tbsp. honey (we didn’t use any honey because our tomatoes were sweet enough on their own!)
- salt and pepper to taste
- lemon juice or vinegar (see below)
Directions:
- Chop onions, peppers and tomatoes.
- KIDS! Rip up basil and parsley into small pieces.
- Shred carrots and mince garlic.
- Saute onion and garlic in 10 tbsp. oil until tender.
- Add carrots through herbs and stir well.
- Add tomatoes, paste, honey and salt and pepper to taste.
- Simmer for 15 minutes. Remove bay leaves.
- Ladle into hot, sterilized pint jars (or quarts if you are canning a larger amount) to within 1/2 inch of top, add 1 tablespoon of lemon juice or vinegar per pint to assure acidity, seal with sterilized lids and process full jars in boiling water bath for 35 minutes.
 Family Friendly Recipes: Free Form Peach Tartlets
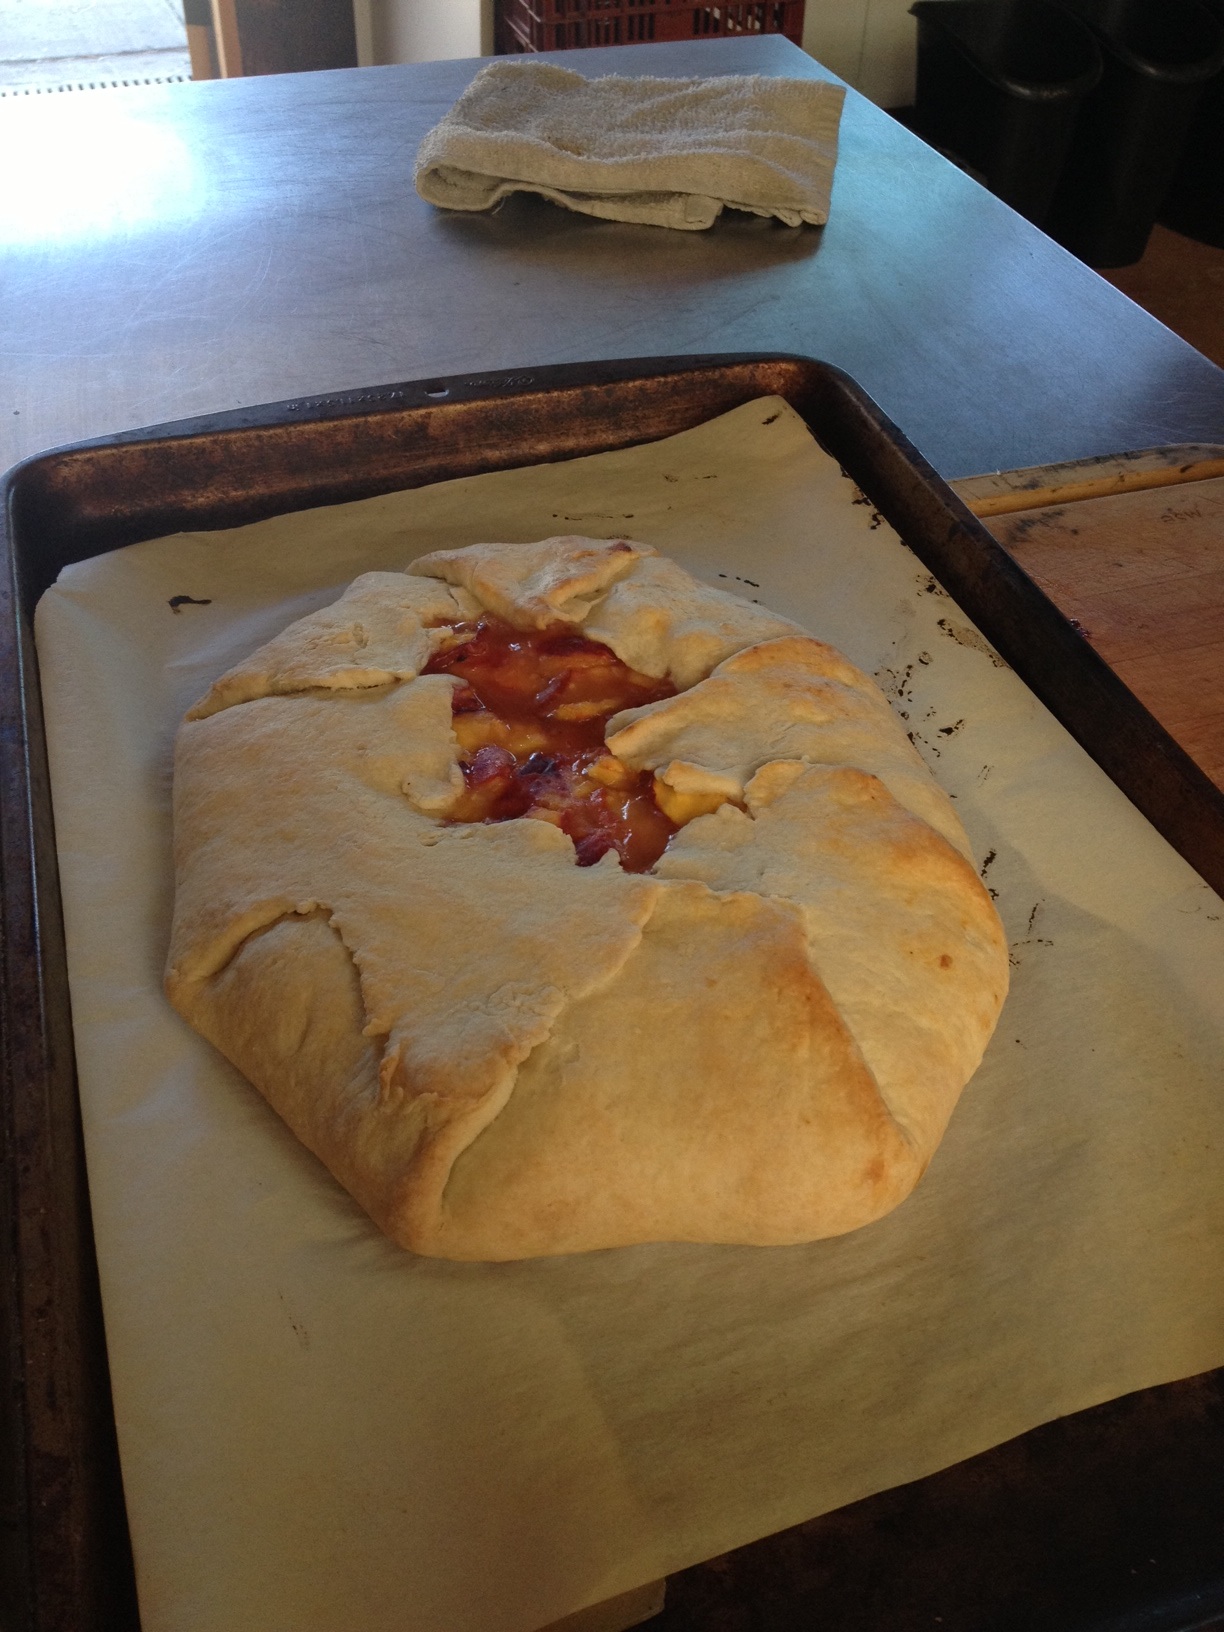
We wanted to add a broader culinary component to the Sprouts Camp session last week and one of the fruits in abundance right now are peaches! We decided to try making individual peach tarts with the campers because I had remembered my mom making deliciously sloppy, easy and fast fruit tarts as a dessert for company. She gave me her recipe and we dove in from there!
Rustic Free Form Tartlets
Flakey Pastry Crust
Makes 8 oz of dough (we made 8 individual tarts, but this could make one 9-10 inch tart)
Ingredients
1 cup flour
1 tsp sugar
1/2 tsp salt
1/4 tsp baking powder
4 tbsp cold unsalted butter
3 tbsp sour cream (we used almond milk and it worked great)
Directions
Preheat oven to 400 F
KIDS! Combine dry ingredients and stir.
KIDS! Add butter and mix by hand until combined.
KIDS! Add sour cream and mix until you have a ball of dough.
Refrigerate while making fruit filling.
Fruit Filling
Ingredients
4 tbsp-1/2 cup sugar
2 tbsp flour
3 cups ripe fruit
1-2 tsp lemon juice
1 tsp butter
1-2 teaspoons vanilla extract
Directions
KIDS! Combine all filling ingredients in large bowl and mix together.
KIDS! Take dough from fridge and divide into balls, or take dough from fridge and create one large ball.
KIDS! Roll out dough ball on floury surface (doesn’t need to be a perfect circle, and it can have cracks in it)
KIDS! Lay rolled out dough on buttered cookie sheet or parchment paper.
KIDS! Pour desired amount of fruit filling into middle of dough, leave 2 inch “crust” around fruit filling.
KIDS! Fold up sides of crust to cover fruit filling (no need to cover completely).
KIDS! Pinch corners with fingers dipped in water to prevent tearing.
Put tartlets in oven for 20-30 min (halfway through sprinkle a pinch of sugar on each tartlet).
Enjoy!
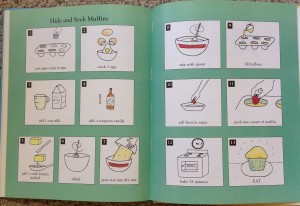
 While at the library this week with my two little girls, I came across two cute cookbooks for working with children. This recipe comes from Pretend Soup and Other Real Recipes: A Cookbook for Preschoolers & Up, by Mollie Katzen and Ann Henderson.
The other book, also by Mollie Katzen, is called Honest Pretzels and 64 Other Amazing Recipes for Cooks Ages 8 & Up. We can delve into the second book next month. This month I thought we could share Hide and Seek Muffins.
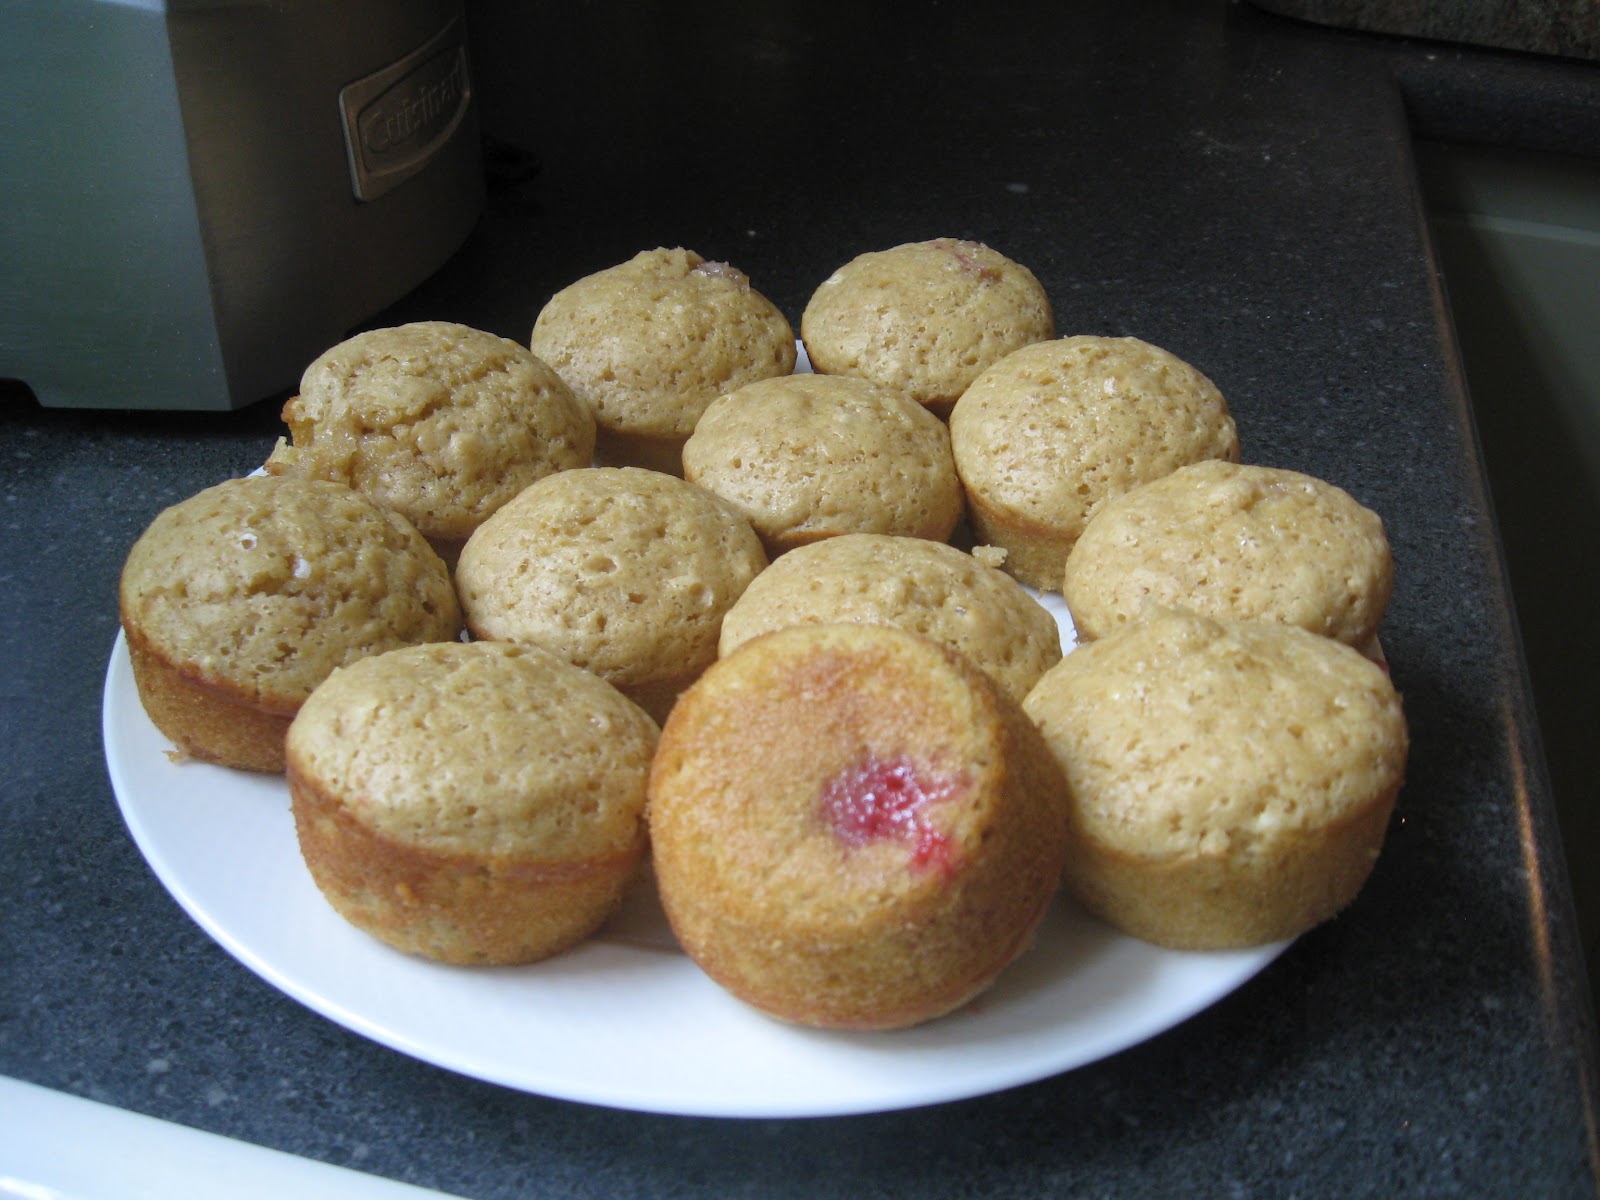
from full tummies.blogspot.com
Hide and Seek Muffins
Prep & Cook Time: 1 hour
Yield: 1 dozen muffins
 Ingredients:
For Muffin Mix:
(the author suggests you make this in advance to make the rest easier for your kiddo, but I find measuring, especially dry ingredients if my 4 year old Ophelia’s favorite and most successful task)
- 1 1/2 cups flour
- 2 tsp. baking powder
- 1/2tsp. baking soda
- 1/2 tsp. salt
- 1/4 sugar
The wet ingredients:
- 2 eggs
- 1 cup milk
- 1/2 tsp vanilla
- 4 Tbs. melted butter
- 12 medium sized strawberries, or other fruit in season. . . 1/4 apricot perhaps!
- 2-3 Tbs. sugar (totally unnecessary when using in season LEF fruit!)
Tools:
- 1, 12 cup muffin pan
- small sauce pan for melting butter
- 2 medium bowls
- 1/4 cup measure & 1 cup measure
- measuring spoons
- whisk
- timer
- toothpick
Directions:
- Melt butter in saucepan.
- KIDS! measure and whisk together “muffin mix” dry ingredients in first bowl.
- Preheat oven to 375F
- KIDS! Use a basting brush to paint canola oil or remnants from the butter melting, on muffin pan.
- KIDS! Break the eggs into the second bowl.
- KIDS! Measure and add milk, vanilla, and melted butter. Whisk about 20 times.
- KIDS! Pour wet ingredients into dry ingredients. Mix with a spoon until all the dry ingredients disappear!
- KIDS! Use 1/4 cup measure to fill the muffin cups almost to the top
- KIDS! Push one strawberry into the middle of each muffin cup with your clean finger.
- Bake 15-20 minutes, or until a toothpick inserted all the way down comes out clean (make sure you insert it into batter and not into the fruit). Remove from pan to cool. Cool at least 10 minutes before eating (go ahead set that time one more time so the kids know when they can ask for a muffin AGAIN!)
 Family Friendly Recipe: Strawberry Rhubarb Pie
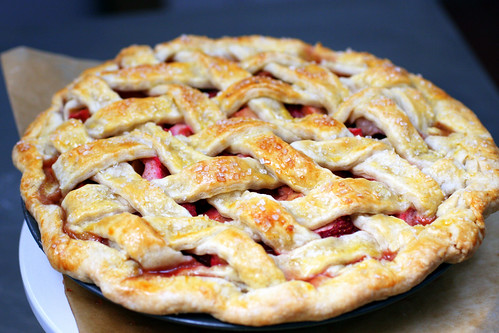
Last week I celebrated my 24th birthday and a dear friend of mine from the farm made me a strawberry rhubarb pie. It was the first one I had ever had the pleasure of eating, and it was delicious! We have both strawberries and rhubarb on the farm right now, so buy them at the market, look in your CSA box, or come to our U-Pick Saturday the 25th and pick some berries yourself!
Strawberry Rhubarb Pie
Prep & cook time: 2 hours/Serves 8
Ingredients:
For crust:
- 3 cups all purpose flour
- 2 1/2 teaspoons sugar
- 3/4 teaspoon salt
- 2/3 cup chilled solid vegetable shortening, cut into pieces
- 1/2 cup plus 2 tablespoons (1 1/4 sticks) chilled unsalted butter, cut into pieces
- 10 tablespoons (about) ice water
For filling:
- 3 1/2 cups 1/2-inch-thick slices trimmed rhubarb (1 1/2 pounds untrimmed)
- 1 16-ounce container strawberries, hulled, halved (about 3 1/2 cups)
- 1/2 cup (packed) golden brown sugar
- 1/2 cup sugar
- 1/4 cup cornstarch
- 1 teaspoon ground cinnamon
- 1/4 teaspoon salt
For glaze:
Directions:
Make crust:
KIDS! Combine flour, sugar and salt in a large bowl.
KIDS! Using a fork or your fingers, cut in shortening and butter until coarse meal forms.
Blend in enough ice water 2 tablespoons at a time to form moist clumps.
KIDS! Gather dough into ball; cut in half. Flatten each half into disk.
Make filling:
Preheat oven to 400°F.
Cut up rhubarb and strawberries.
KIDS! Combine filling ingredients in large bowl. Toss gently to blend.
Roll out 1 dough disk on floured work surface to 13-inch round. Transfer to 9-inch-diameter flass pie dish.
Roll out second dough disk on lightly floured surface to 13-inch round. Cut into fourteen 1/2-inch-wide strips.
KIDS! Spoon filling into crust. Arrange 7 dough strips atop filling, spacing evenly.
KIDS! Form lattice by placing remaining dough strips in opposite direction atop filling. Fold strip ends and overhang under, pressing to seal. Crimp edges decoratively.
KIDS! Brush glaze over crust.
Transfer pie to baking sheet. Bake 20 minutes. Reduce oven temperature to 350°F.
Bake pie until golden and filling thickens, about 1 hour 25 minutes. Transfer pie to rack and cool completely.